 R
R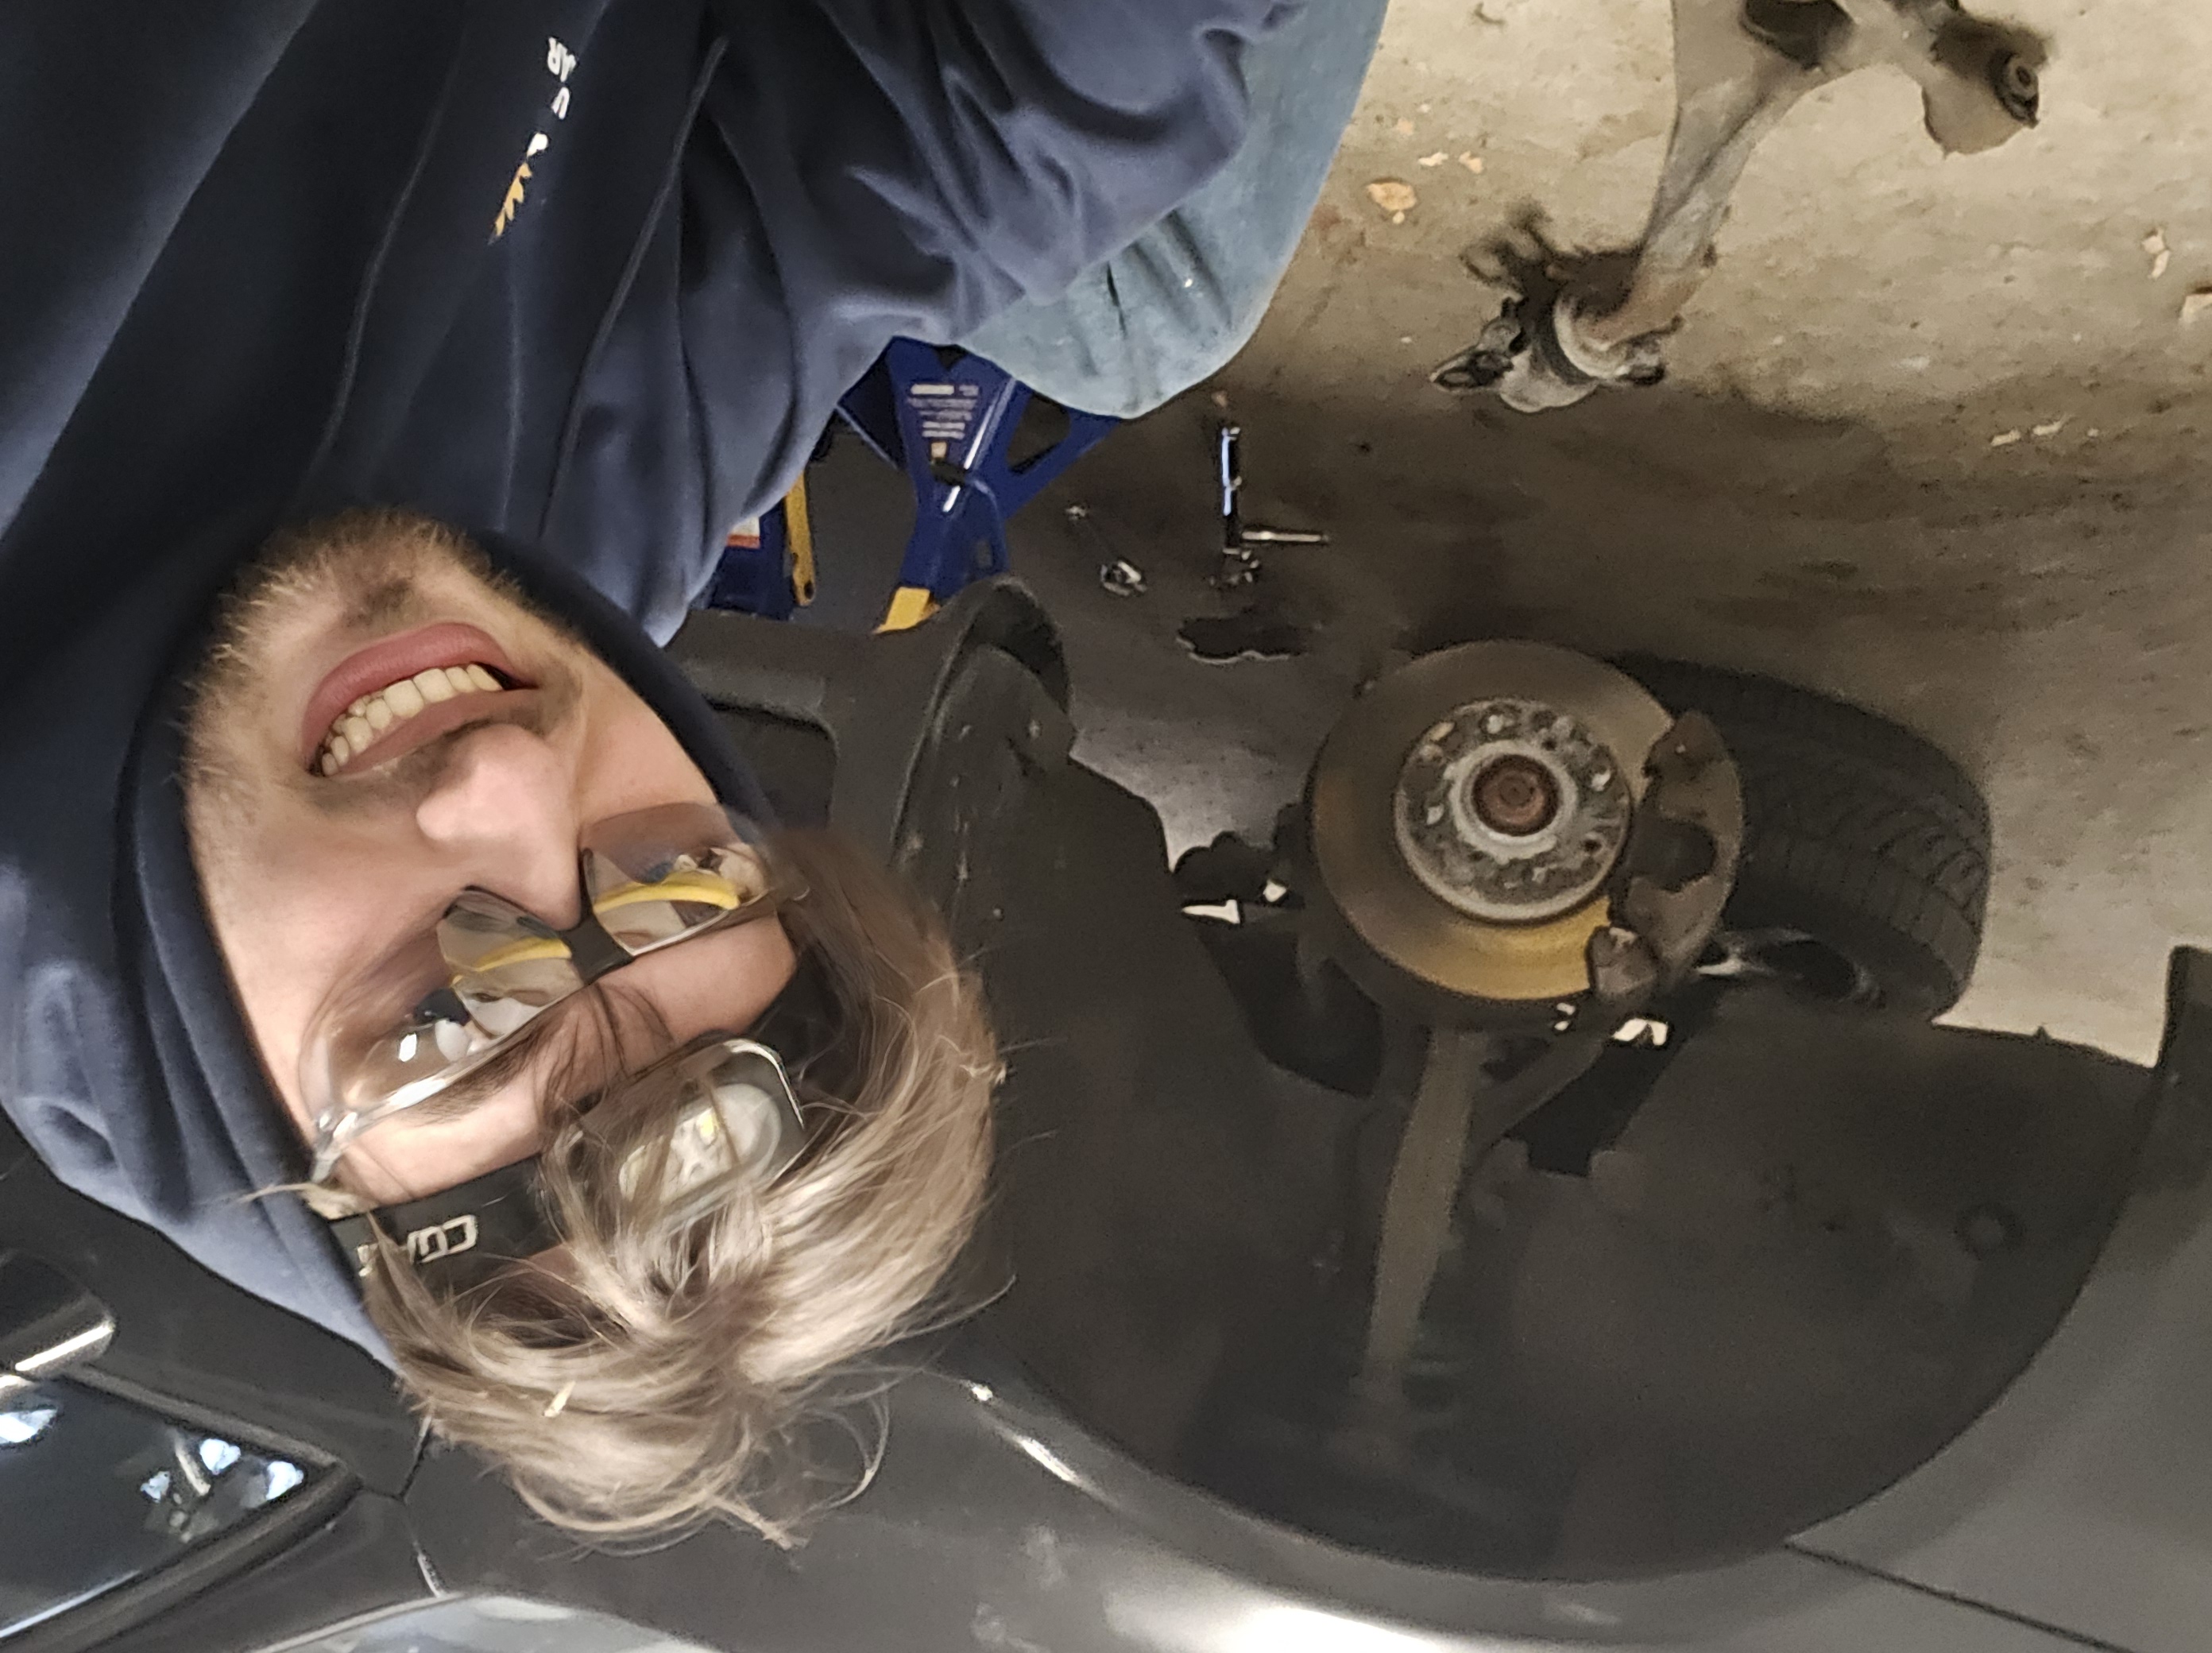
Suspension Step 1: Lower Control Arm
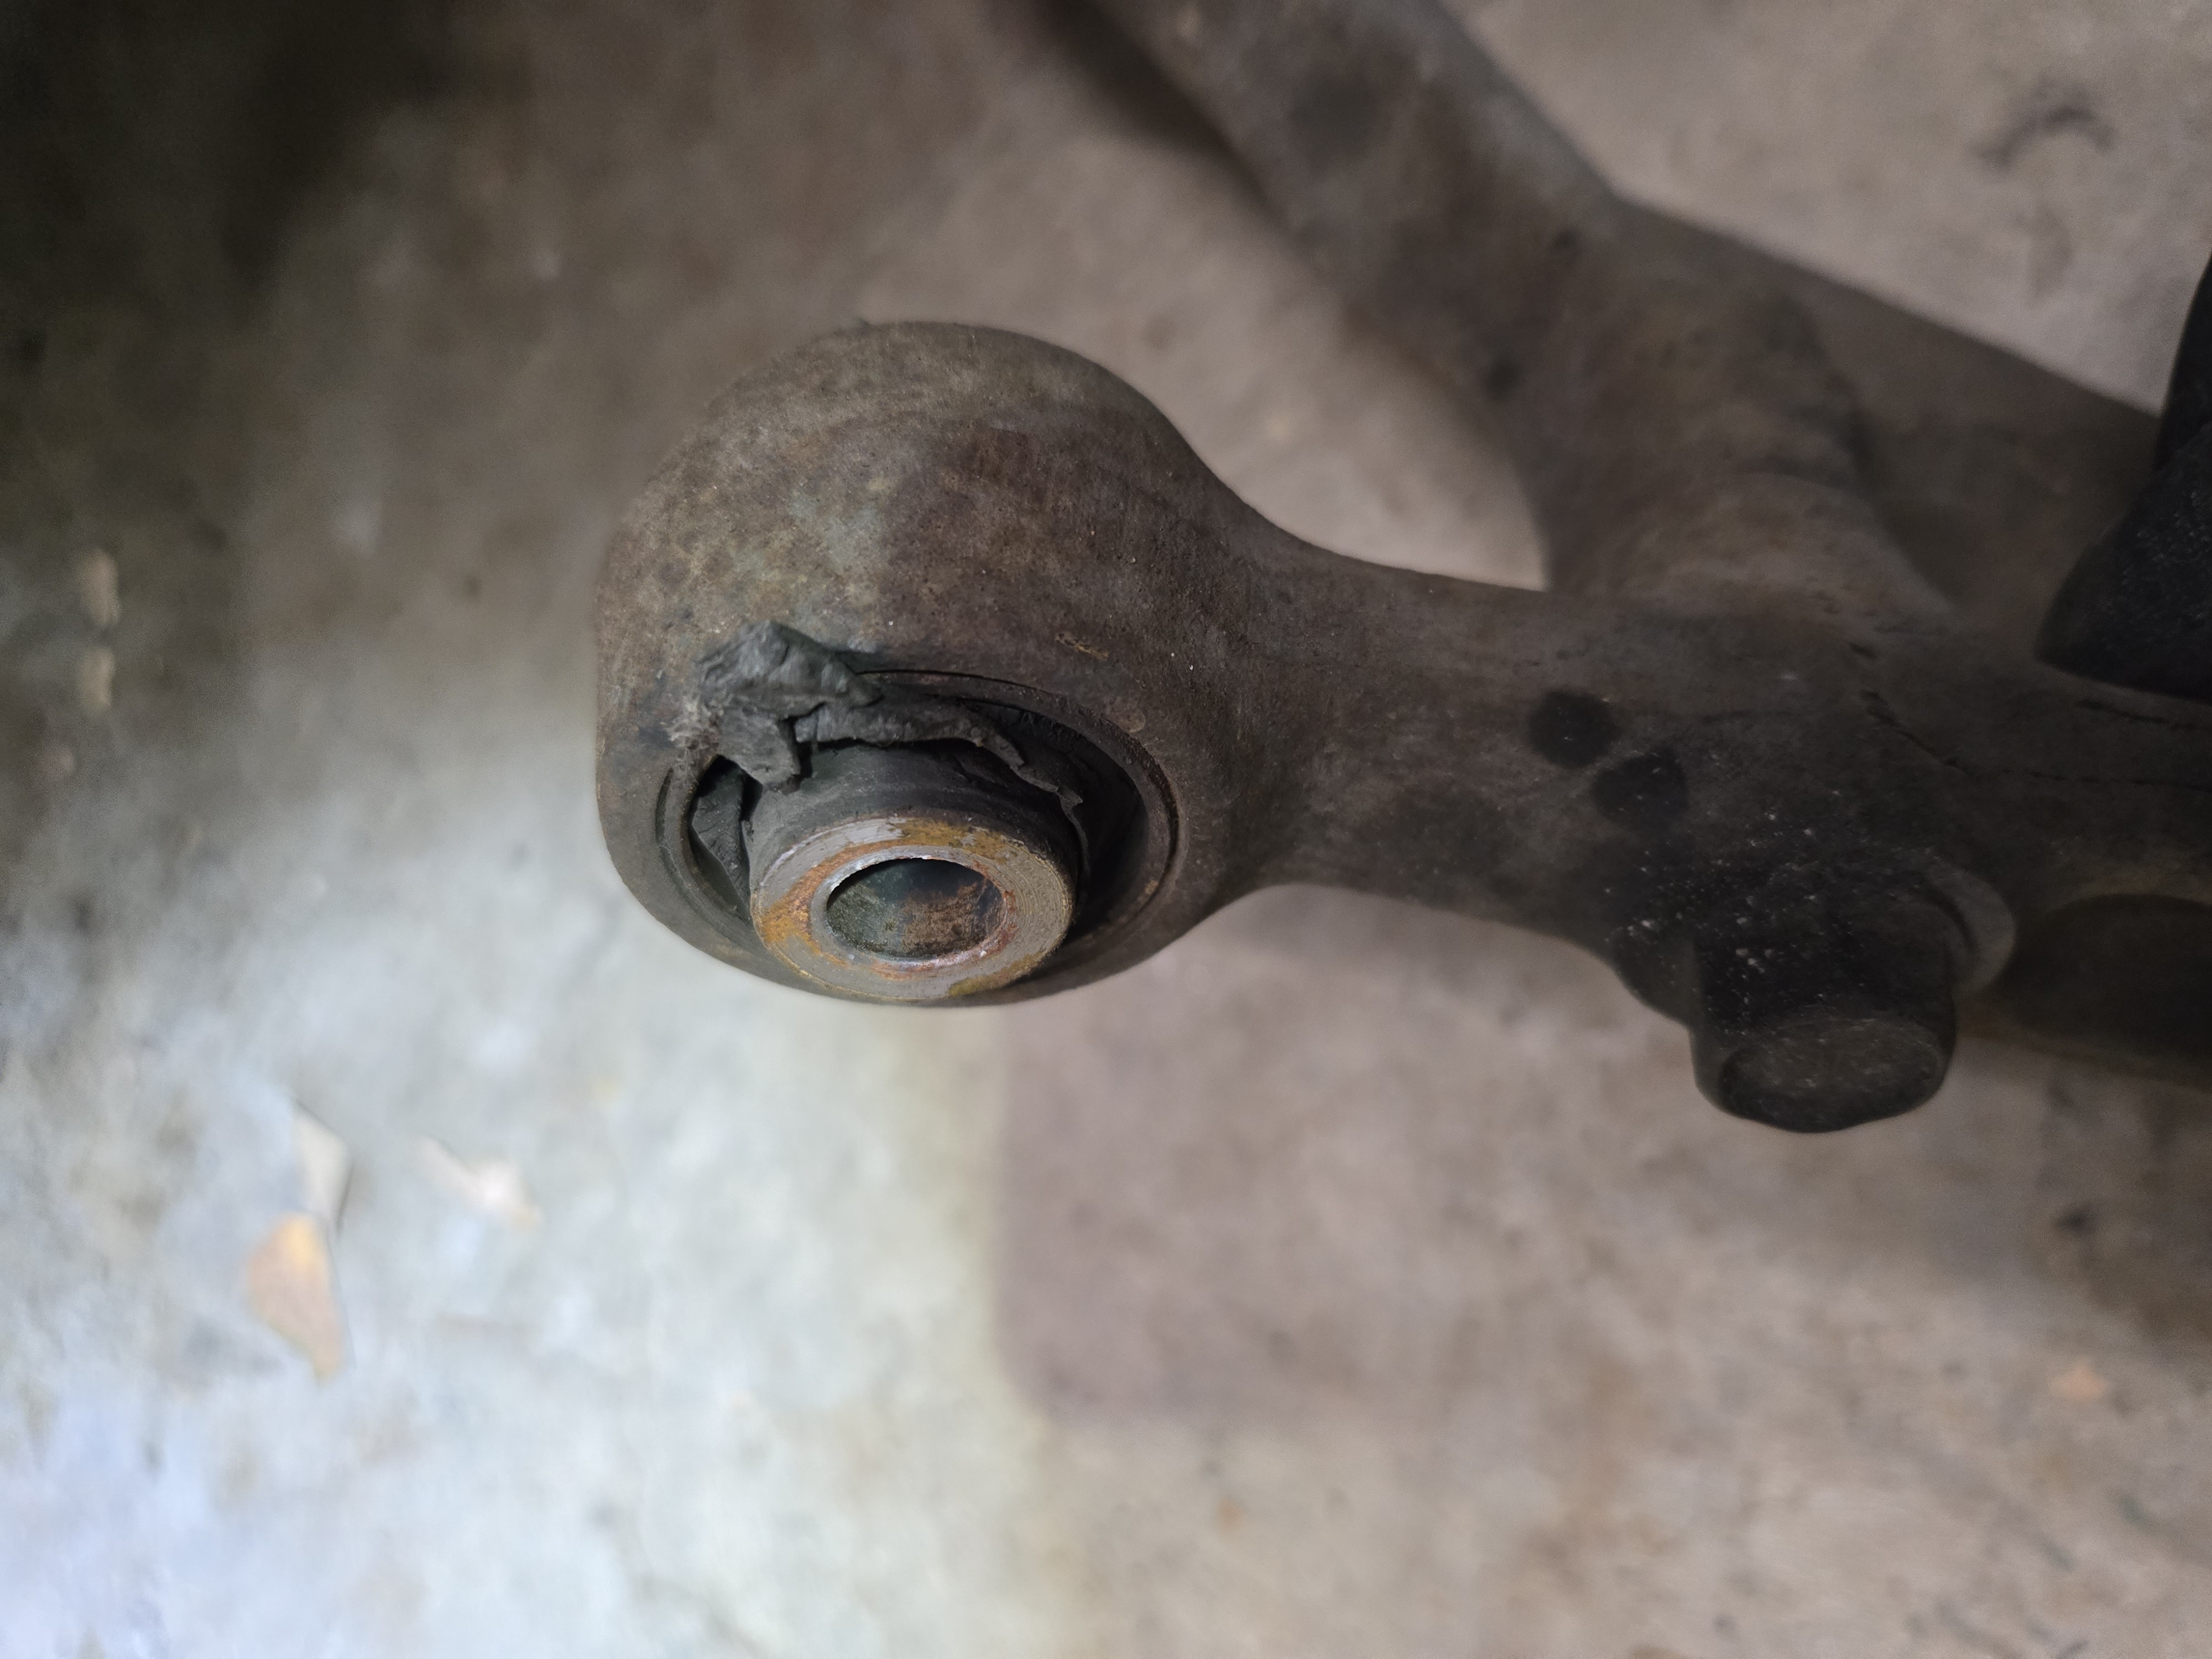
Replacing the front left lower control arm to fix a completely torn subframe bushing
Everytime I would go over a pothole of a slight imperfection in the road, the front left corner would tell me about it. The condition of the LCA bushing was that bad that the clanking noise would haunt me even during low speed acceleration and braking.
First decision - what to replace?
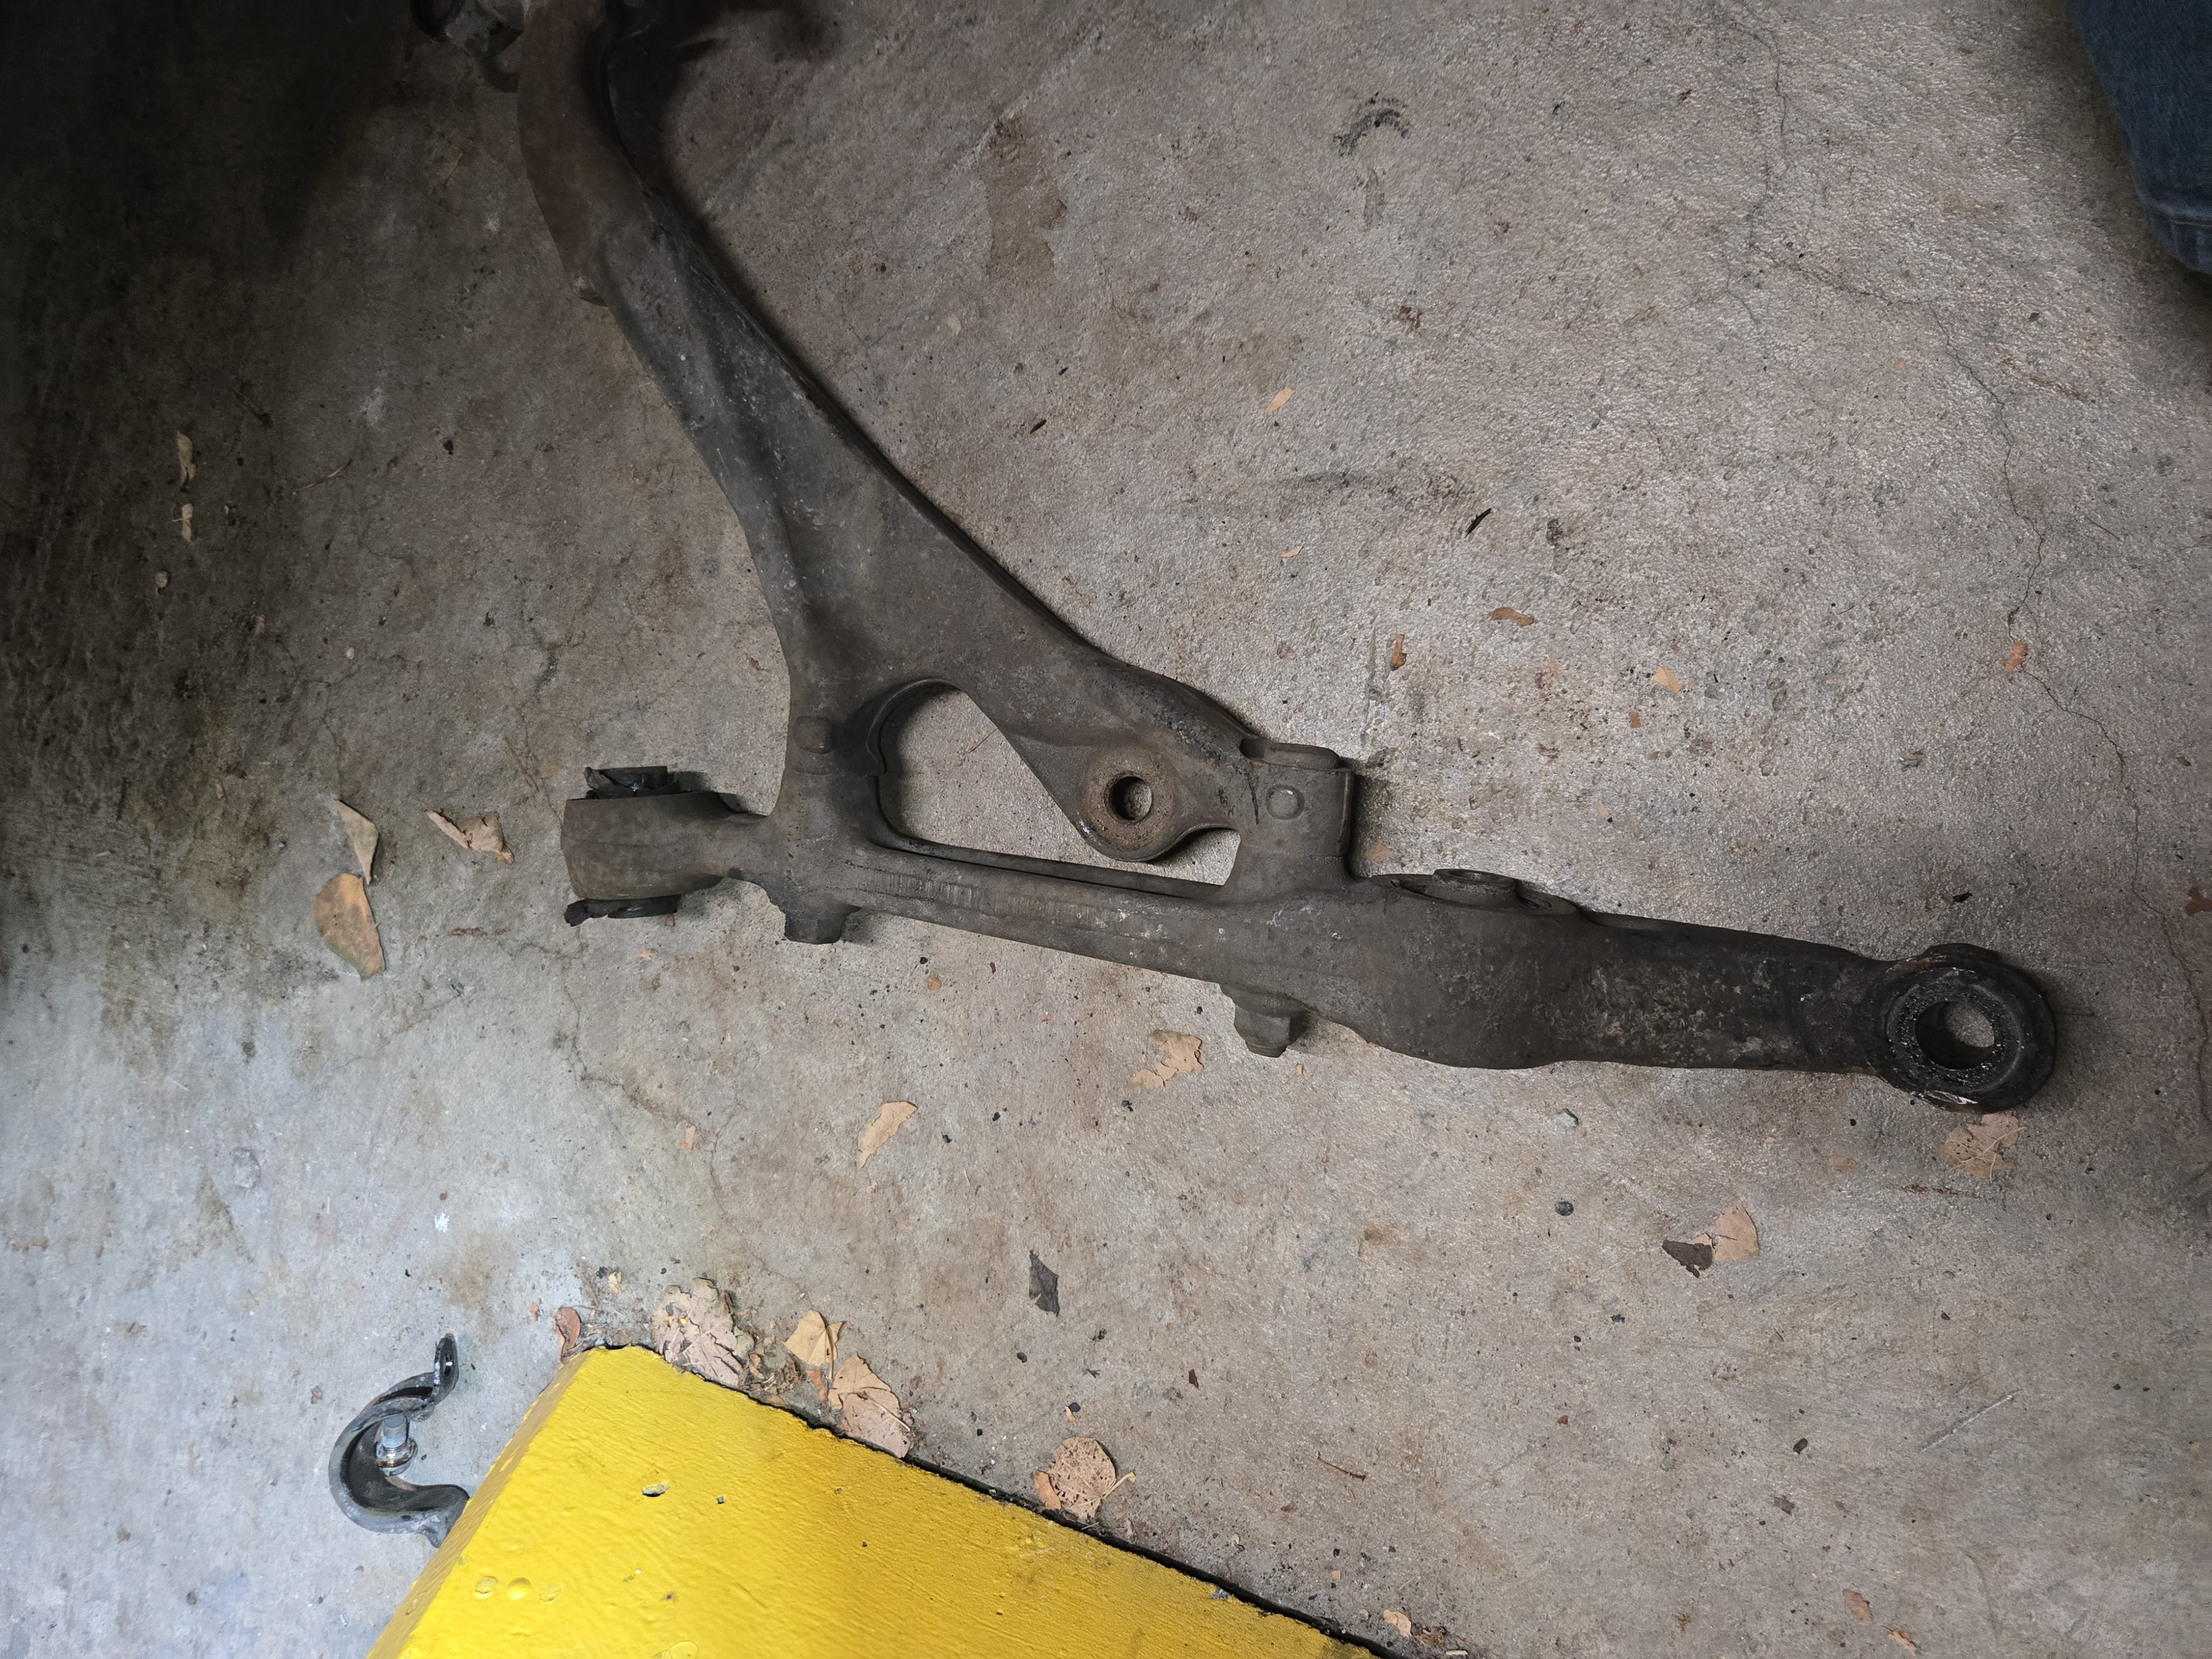
There are two choices I had for this repair. Either I replace the bushing or the entire control arm. Given that the car is 33 years old and pressing in the bushing would require a specialized tool, I decided to replace the whole arm. Ironically, even so, I still had to get a specialized tool… At least for a different reason.
This was my first time purchasing a critical car component by myself. Armed with very little knowledge and some cash from unused health benefits, I decided to buy the lower control arm from Lordco. The process was straightforward but the part ended up costing $150 CAD. Later, I would find out that I could have saved quite a lot with the correct resources. But at this point, I have not yet been enlightened with this knowledge.
Removing the old LCA
Now, here is where the value of Youtube to the DIY community is hard to overstate. Escpecially, the value that ChrisFix, one of my favourite youtuoers, brings to the car community. Luckily for me, Chris has filmed a video showcasing the replacement of the entire front suspencion system in his driveway (Thank you Chris!). Having watched the video a couple of times and considering myself a professional, I started on this exciting journey.
Del Sol’s suspension is simple and quite easy to work with. The only troublesome part of removing the old LCA was disconnecting the LCA from the ball joint on the knucle. If I was lucky enough, this should have come apart with a couple swings of the hammer. Life, however, frequently has its own plans. And now I find myself cycling to the nearest Canadian tire for a ball joint separator that I hoped I would not need.
Installing the new LCA
Again, Chrisfix adds tremendous value to the car culture. And his full front suspension rebuilt video on a del sol continues to be the North Star for my work so far. Installing the new LCA was a lot more straightforward than taking the old one out. One thing that I had to pay special attention to is the positioning of the larger bushing on the rear end of the LCA. For this I simply took a couple of measurements with a level while the bushing was on the old LCA on the floor and then eyeballed it on a new one. Another option is to torque it down after assembling the suspension but there is no space to fit a torque wrench so I decided to do it on the floor instead. So far, I have had no issues with the new LCA and if I will, there will be a log post about it.
What’s next
Next up we will be replacing the axles. Now remember, if you are using a youtube video as you only guide of how to do something, make sure you watch it very carefully (foreshadowing).
The car doesn’t need to be perfect. It needs to be right.